You can never have too many zipper pouches!
The possibilities are literally endless when it comes to filling up a zipper pouch. Let's brainstorm some fun uses:
- makeup bag for your purse
- eco-friendly reusable (washable!) snack bag
- crayon, pencil, marker holder
- travel bag for game pieces or card games
- diaper/wipes case
- cord keeper for traveling
- so much more!!
I bet you could name at least five more ways you would use one! You can take anything with you!
These make great gifts! You can give as is or stick some candies inside for a sweet surprise.
Zipper pouches are one of my favorite things to sew! There are several great tutorials out there, but I first learned from Dana from MADE Everyday. You can find her tutorial
by clicking here, or you can read on!
You may use any zipper you'd like, but if you think you're going to make several of them, I would look into buying in bulk instead of individually (wayyy cheaper). I found a great seller on Etsy who sells wholesale YKK zippers at a good price
HERE. There are so many different kinds and colors, so pick what works for you!
Here's what you'll need (for my tutorial, I'll give the measurements I used):
- An 8" zipper (Hint: The hanging tag things at the end will make it 1.5" inches longer total.)
- Two pieces of fabric for the lining, cut 9.5" by 6.5" (See how I added 1.5"? Of course you did, smarty)
- Two pieces of fabric for the outside, cut 9.5" by 6.5"
Here's how to make it:
Open zipper a few inches and line it up with the top of one of the lining pieces (right side facing up if there is a pattern)
Place your outside fabric face down on top and make a zipper sandwich.
Pin the three layers together.
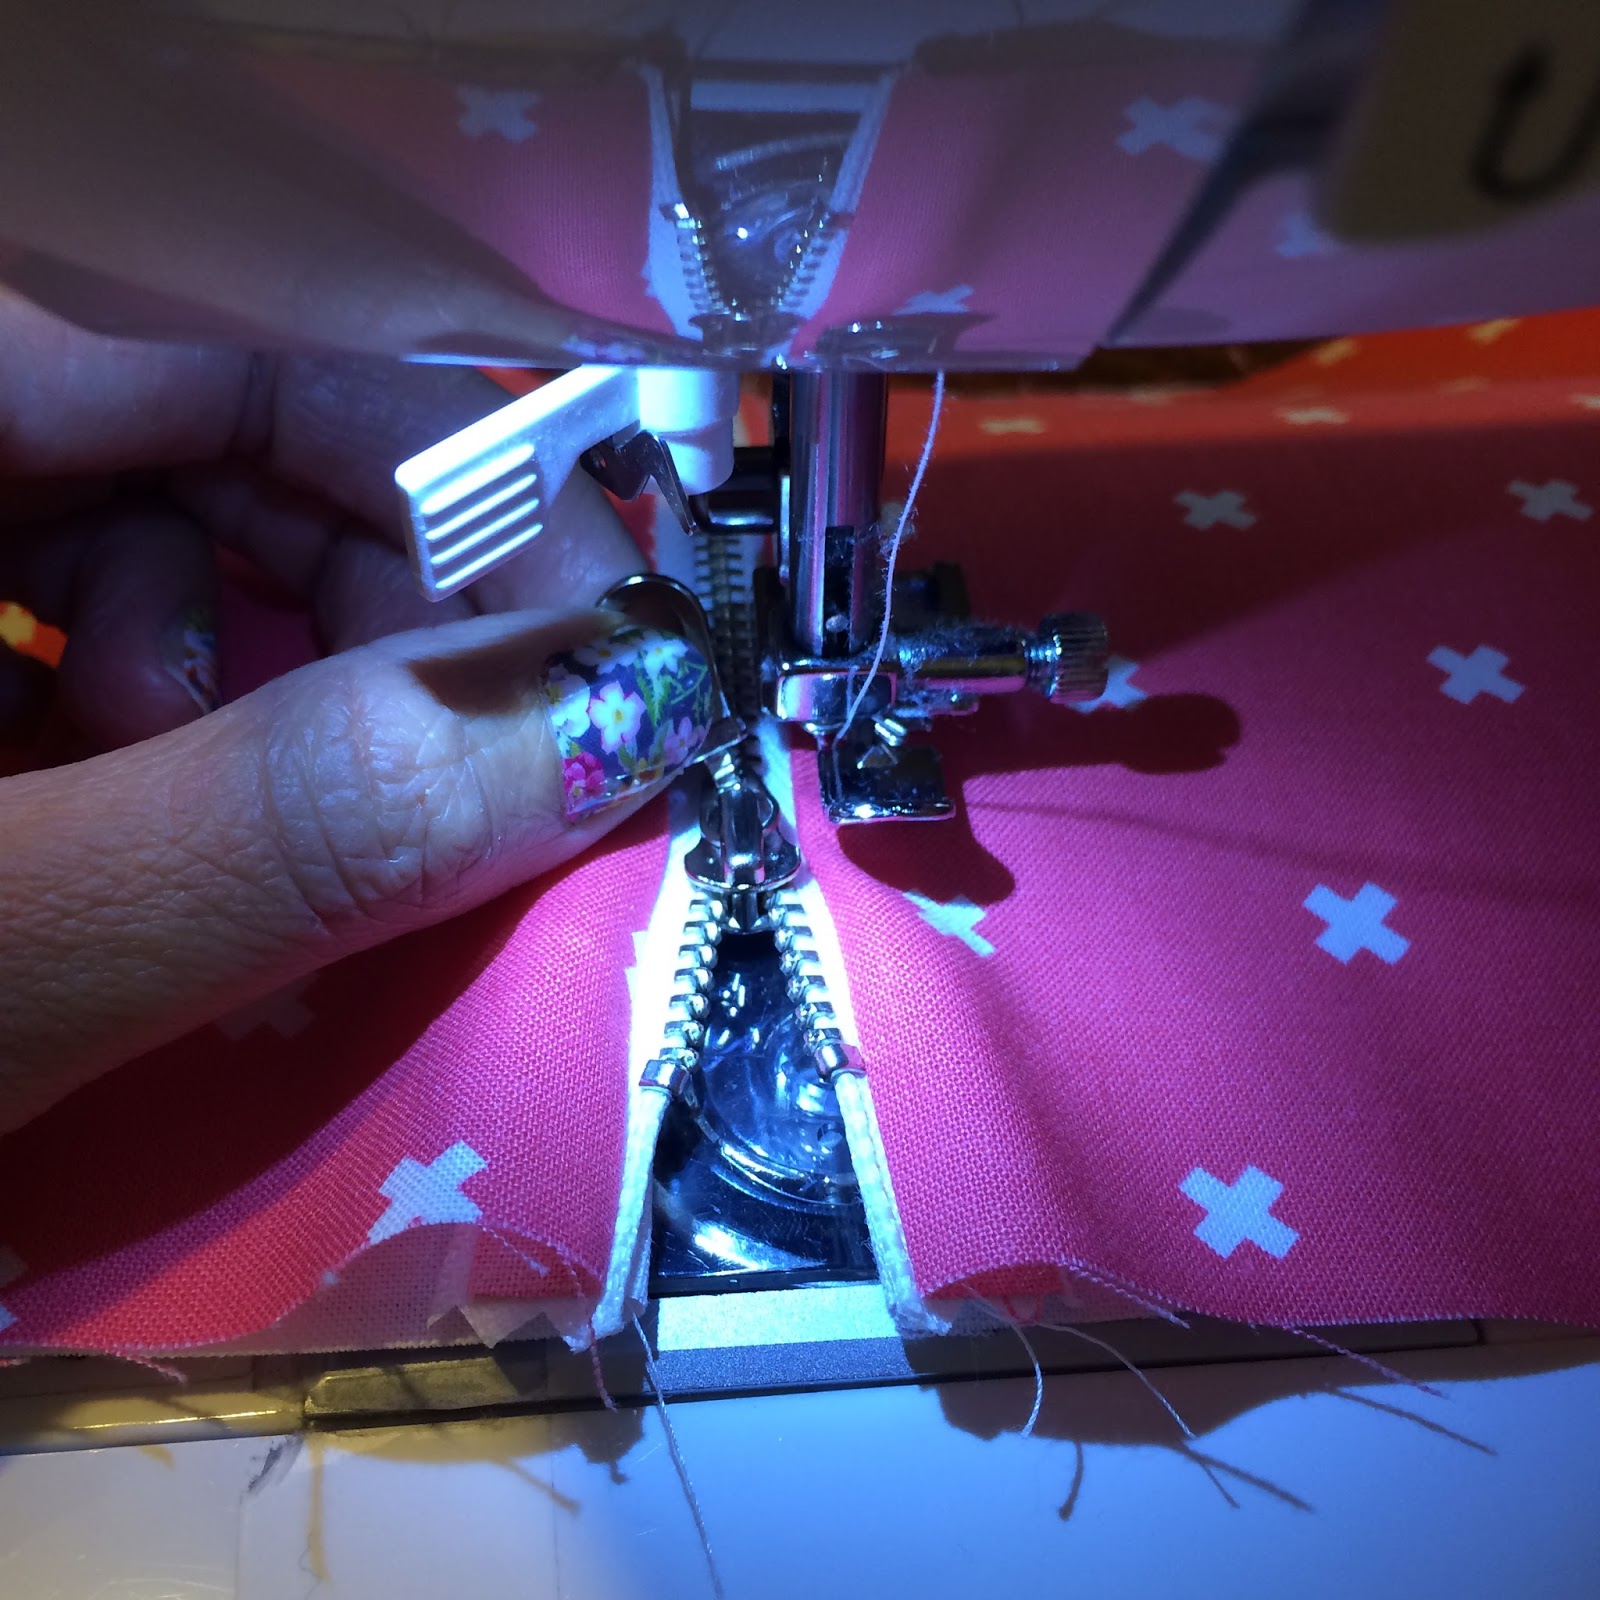
Bring it to the machine and sew as close to the zipper as you'd like. Make sure you use a zipper foot! I also like to engage the needle down position while sewing, but it isn't necessary.
When you get to the zipper head, stop sewing. Lift presser foot and close zipper. (You may also need to bring the needle up to get the zipper to close.) Continue sewing to the edge.
Next, fold back the outer & inner layers to expose zipper. Lay the zipper on top of the other inside lining piece of fabric (just like you did with the first one -- only this time the zipper is facing the other direction and you don't need to open it).
Lay the other outer piece on top to make another zipper sandwich!
Pin the three layers together.
Sew the three layers together just like you did for the other side.
When you get close to the zipper head, don't forget to stop sewing, lift the presser foot (and possibly the needle), open the zipper, then lower presser foot and continue sewing to the end.
Now your zipper pouch will look like this:

Next, you will need to iron it out to make it crisp and ready for topstitching. Be extra careful if you are using a metal zipper! It will get hot!
Ready to topstitch? You will be sewing through all three layers again.
I like to keep it about 1/8" from the edge.
Once again, you'll have to stop to lift the presser foot and open the zipper to get around it.
After you topstitch both sides, it should look like this:
It will look nice and neat on the inside, too!
Don't miss this step: OPEN your zipper about half way before pinning the lining and the outside pieces together!
Now pin the inside & outside pieces together.
When you get to the zipper (this is where I like to start pinning), make sure the zipper folds in towards the lining.
Now sew 1/4" seam allowance around the edges. Go slow at the zippers.
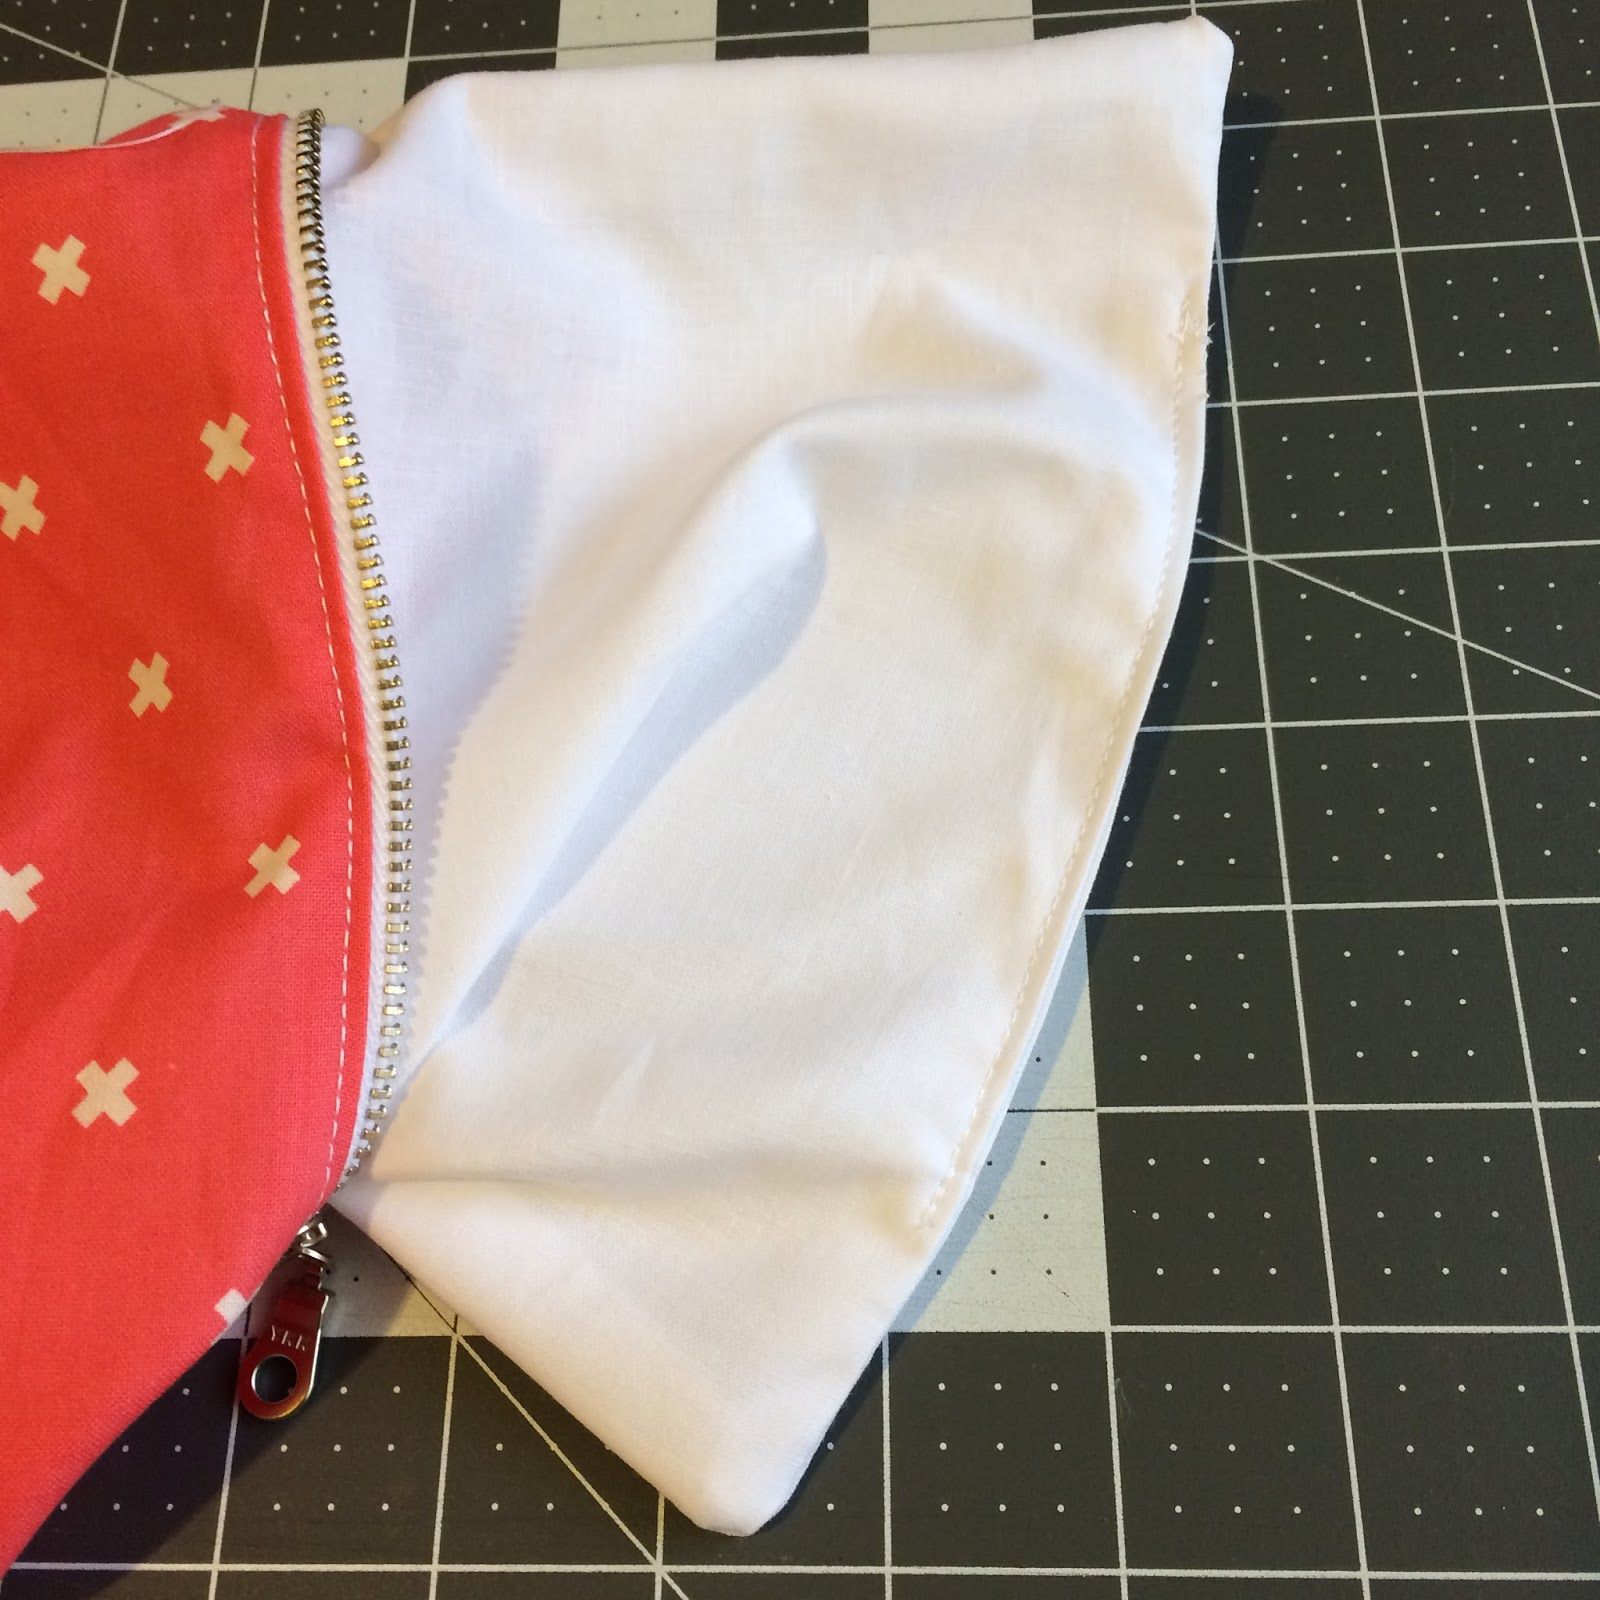
Leave at least 3-4" open in the lining so you can flip it right side out!
Now flip it right side out! Poke out all the corners.
Fold in the edges in the lining, place a pin to hold it together, and bring it to the machine to stitch the hole closed.
Now stick the lining back inside, smooth it out, and you're done!
What would YOU use it for? I would love to hear about it in the comments!